How do I create a route in Geotab?
Overview
Effectively dispatching your drivers is easy when you use Geotab to do your route optimization. You can reduce fuel consumption, mileage, CO2 emissions and increase your organization’s operational efficiency. As a fleet manager, you know how important it is to make accurate and fast deliveries while maintaining high customer satisfaction levels.
Creating a route
Routes created by connecting a sequence of zones together to create a path. The route can optionally start and end at the same location and can be defined in any order you wish. You can optionally allow Geotab to optimize the order in which a driver should visit each zone so that fuel consumption is kept to a minimum. Navigate to Zones & Messages from the left hand side options menu. Select Routes from the sub-menu, your existing routes will be displayed.
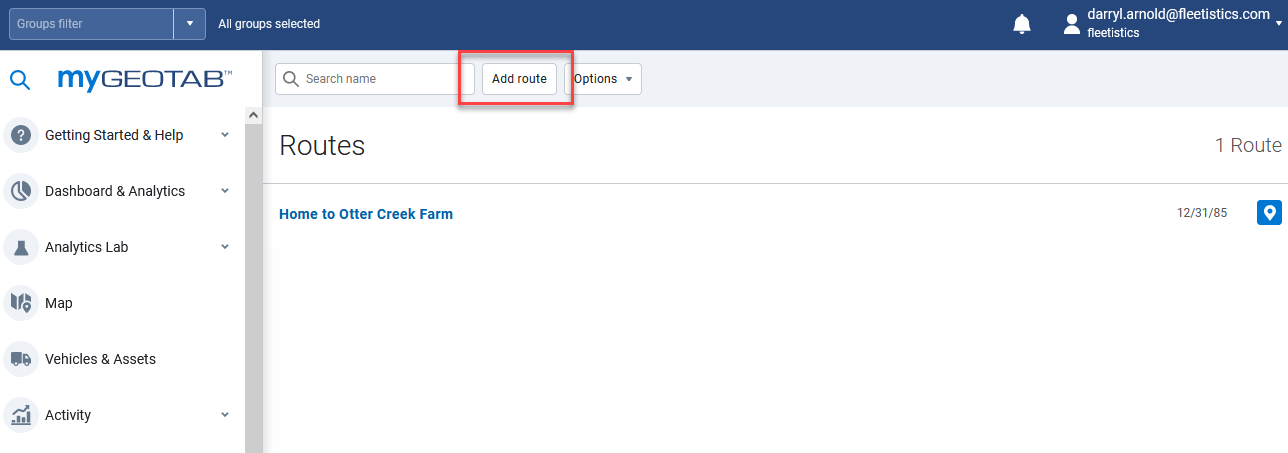
Click Add Route from the top menu to create a new route.
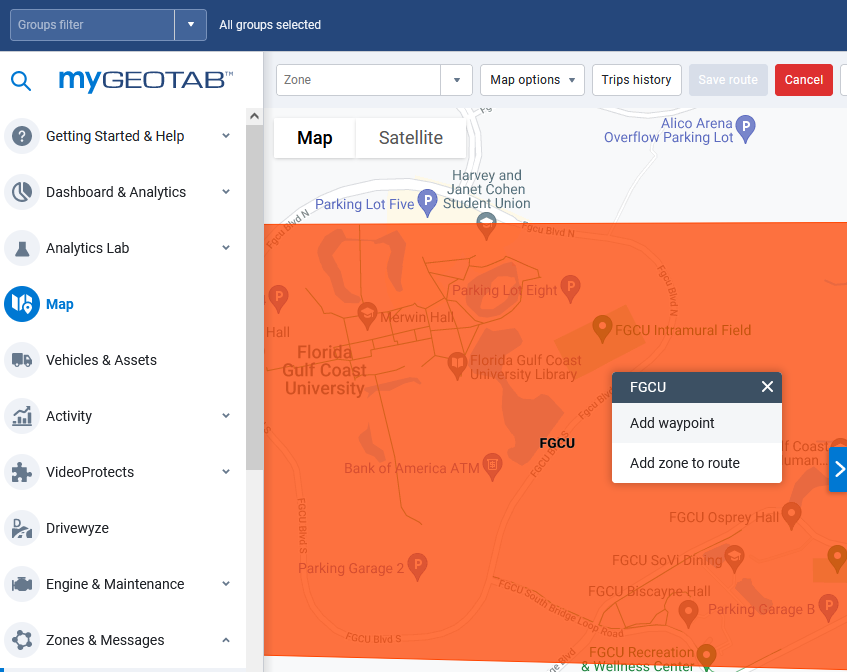
Assign a departure point for the route by selecting a zone on the map. Continue to select additional zones which the driver must visit along their route. After all zones have been added, select Save route from the top menu. Note: The order in which zones are added to the route is not important as the route can be optimized after all zones are added to ensure that the least distance is traveled.
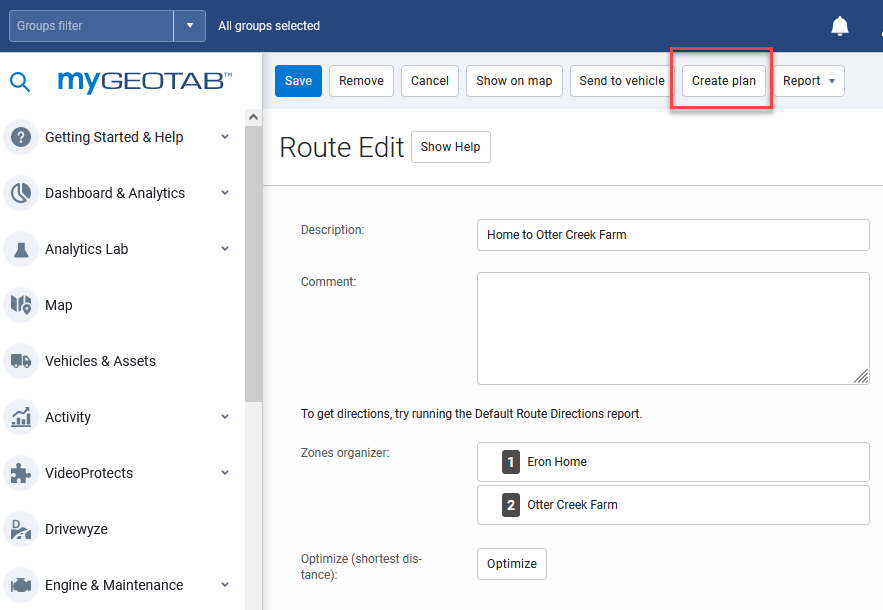
Take a moment to customize your route by adding a description and optional comment. For example, describe the customer’s which will be visited or the main roads that should be driven. Select the Optimize button to ensure that the shortest route will be chosen. This will greatly help you save time and fuel for long routes.
When finished, select Save from the top menu.
Route plans
When you have a route created, a route plan can then be created allowing you to examine how a driven route compares defined route. The route plan consists of your route, timeframe for completion and a specific driver. When used in combination with one another, the route plan comparison is a powerful way to highlight where and when a driver unexpectedly spent time or has made unplanned stops. Navigate to an existing route that has been created or follow the previous steps to create a new route. Select Create plan from the top menu to create a route plan.
Comparing actual trips with planned routes
This process requires the use of the Software Development Kit (SDK) to import the routes in to your account. The routes must be formatted as a CSV file with the details of the route name, stop locations, the estimated time to drive to each location and the estimated time to be spent at each stop. Note: Geotab offers SDK samples to assist you with this process. Your stop locations must be entered as unique zones in your Geotab account. After the route has been completed, a report can be generated using the Planned vs. Actual Route Report to highlight stops made out of order, missed stops, travel time and extra time spent in zones along the route.
Plan vs. actual route report
In addition to the visual, map-based report, you can run a text based report of your route plans which can be downloaded to your computer.